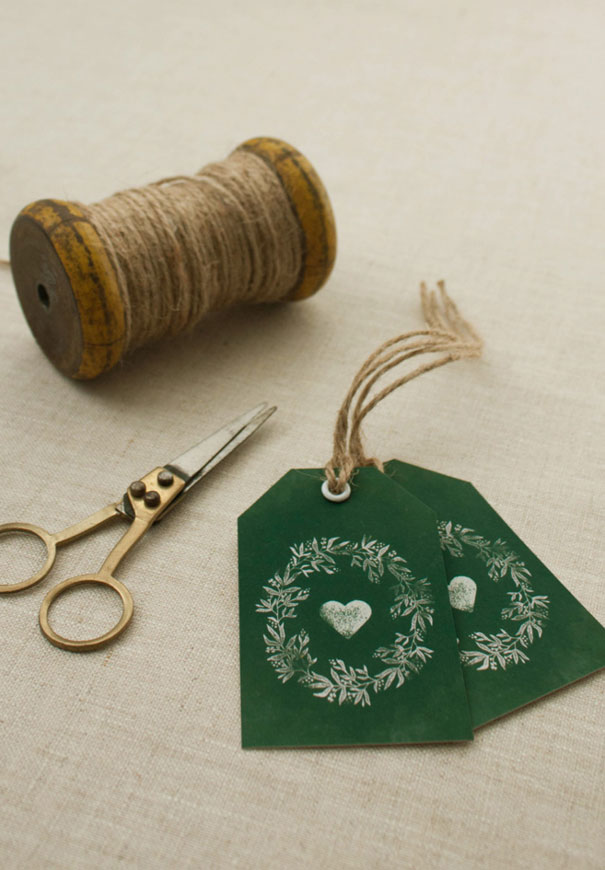
The lovely and ever so talented Linnet from Ink & Create was kind enough to sit down and school us in the fine art of making your own chalkboard tags – perfect for decorating wedding favours or gifts.
What you will need:
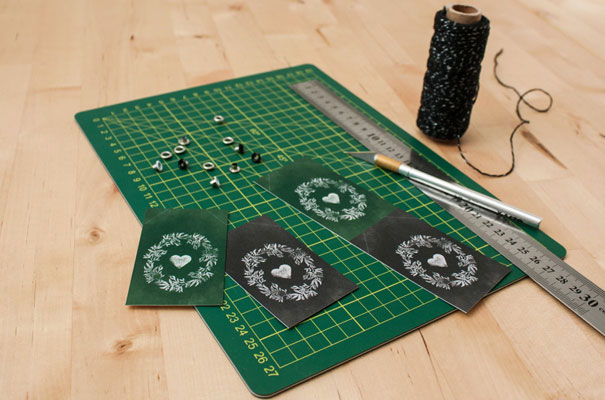
Printer with colour ink
Double sided matte photo paper / card stock
Cutting mat
Steel ruler
X-Acto knife or snap blade knife
Single hole punch or eyelet punch tool kit
Directions
Step 1: download your free Ink & Create Chalkboard Tag Printable.
Step 2: Print your PDF file out on thick matte photo paper or card stock. You can also take the PDF file to your local printer like Officeworks or Staples.
Step 3: Line your steel ruler up with corresponding trim marks. Using your craft knife cut along the steel ruler, do not cut right to the edge of the paper. Instead, stop cutting where the trim marks end, otherwise you will lose the rest of your trim marks.
Step 4: Cut the corners of the tag off along the diagonal lines.
Step 5: Punch a hole at the top of the tag. As an optional extra you can insert an eyelet using an eyelet tool kit for additional stability.
Step 6: Complete the tag with a piece of twine or ribbon & attach to gift, centrepiece or napkin ring of your choice.
By creating stationery collections that people can print and assemble at home, Linnet has allowed design conscious and DIY lovers to still have their dream stationery without breaking the bank. To find out more about Ink & Create check them out on our directory or click here to shop online for ready made invitations with ease.
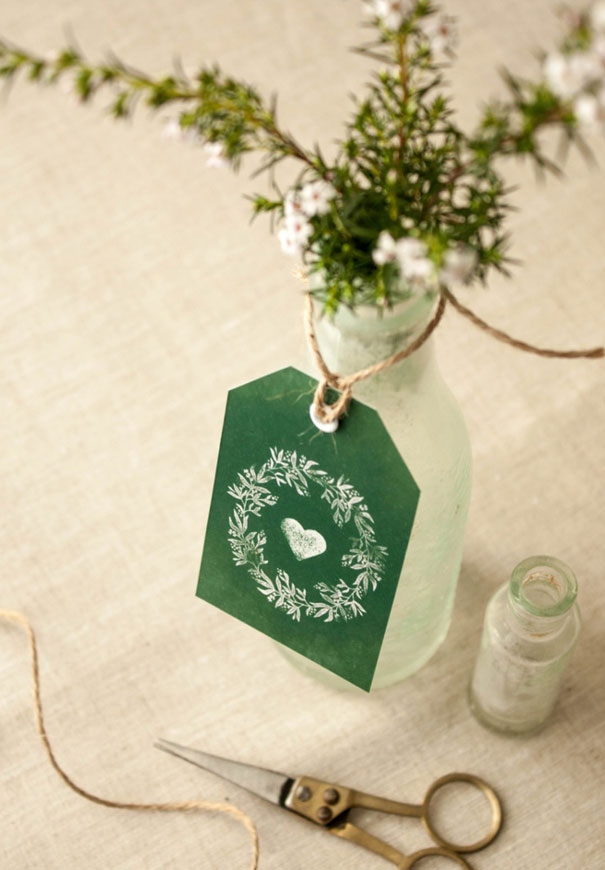

CREDITS: DIY printable Ink & Create.

