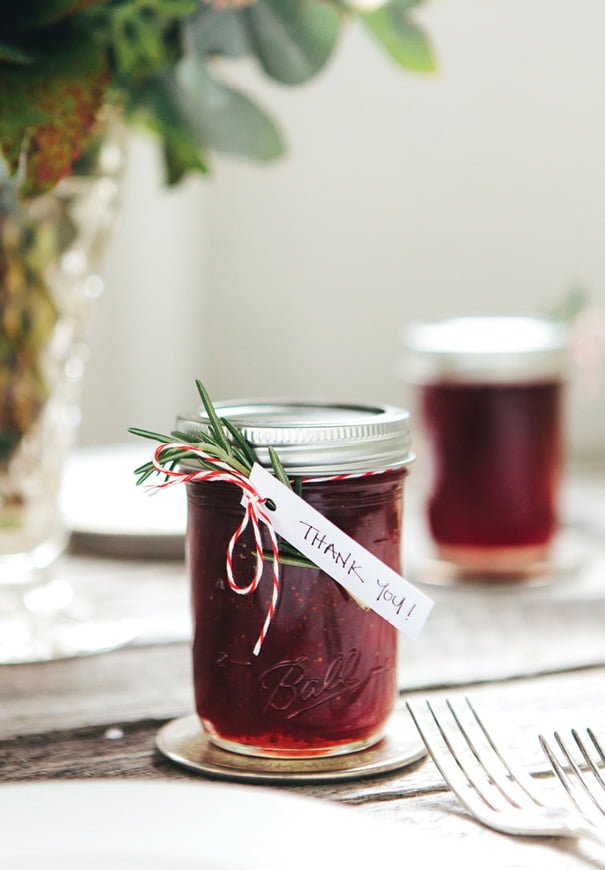
We’ve dusted off grandma’s recipe book (literally) to make the quintessential preserved gift. We made traditional strawberry jam (with just a hint of lemon) but you can make your jam from whatever seasonal fruit there is, from apricots and plums to all kinds of berries. Just substitute to the same weight as below.
WHAT YOU WILL NEED
1 kg strawberries (hulled)
1 kg sugar
1 lemon (juiced)
6 x 250ml preserving jars
Rosemary sprigs
Cardboard
Bakers twine
A single hole puncher
DIRECTIONS
1. Order your mason jars online. The smaller the jar the less jam you have to make per guest. We used 250ml regular mouth preserving jars from The Redback Trading Co. A box of 12 will only set you back about $18 bucks.
2. Choose your fruit carefully. Really good, ripe fruit doesn’t have enough pectin to set firmly. Pectin is the same thing that gives fruit its firm texture, so as it ripens, the pectin level drops. You can add pectin (bought from all good food stores) but according to grandma’s recipe book a good mix of ripe and unripe fruit is best for a lightly set jam that spreads like a dream.
3. Sterilise your jars. This is essential and ensures there’s no bacteria that will quickly ruin your jams so that they keep for a while. A simple way to do this is to heat your oven to 180 C and lay a double layer of newspaper on each shelf. Arrange the jars on the paper making sure they’re not touching each other. Close the oven door and leave for minimum 20 minutes. Using thick oven mitts remove each jar as they need to be filled (it’s important they’re still warm for when you’re adding the hot jam to them).
4. To make your jam, add your strawberries and sugar to a deep pot and leave for 2 hours so the sugar softens the fruit.
5. Add the juice of one lemon, then bring to the boil over medium heat, stirring regularly (this takes about 15-20 minutes). 6. Skim foam from the surface, then, using a soup ladle pour into your warm jars and leave to cool for 10-15 minutes before sealing with lids. Be sure to store your jam in a dark cool place. Lightly set jams are best stored in the fridge.
7. Make a simple handwritten thank you’ tag by cutting your cardboard into 3cm x 5cm rectangles and punching a single hole in the top. Using bakers twine, tie on with a sprig of rosemary and POW! Delicious strawberry jam favours for your nearest and dearest!
A HANDY HINT: A good way to test your jam is ready is by placing a saucer in the freezer before you get started. When you think your mix is ready place a teaspoon of jam on the saucer and if it sets, your jam is good to go. If its too runny boil the jam for another 10 minutes on medium heat.
CREDITS Photos The Loved Ones.
