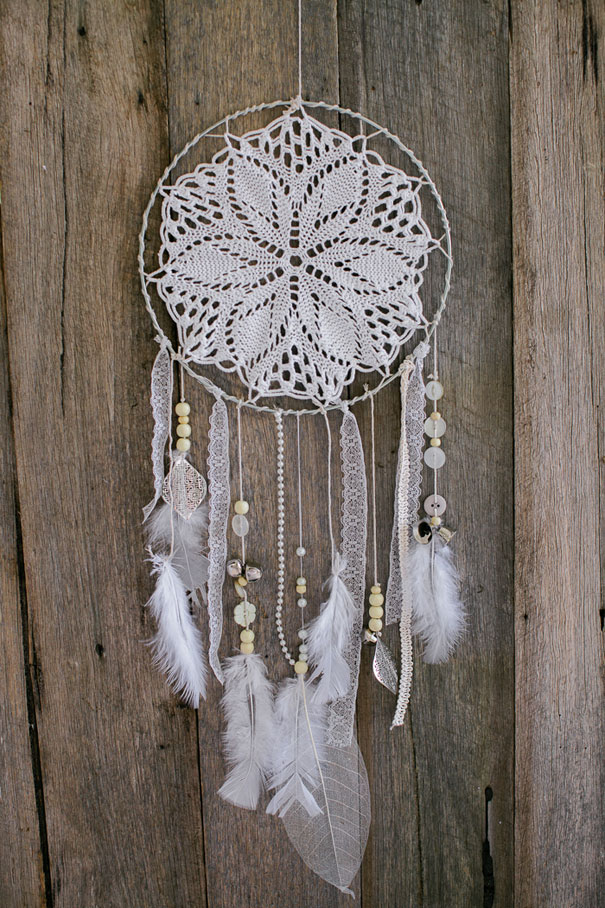
The lovely and ever so talented Kathy from Melbourne’s Always Bespoke Events was kind enough to sit down and school us in the fine art of making your own dreamcatcher.
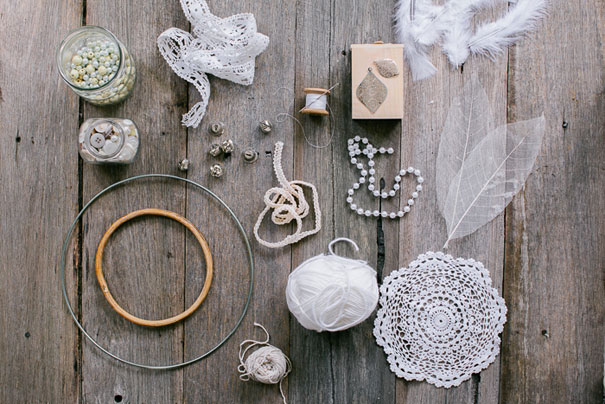
What you will need
A wooden or metal hoop
Doilies
String, cotton or twine (Whichever you prefer to hold the doily to the hoop)
Decorations: feathers, beads, buttons, lace, leaves, bells, pearls.
A darning needle
Scissors
Directions
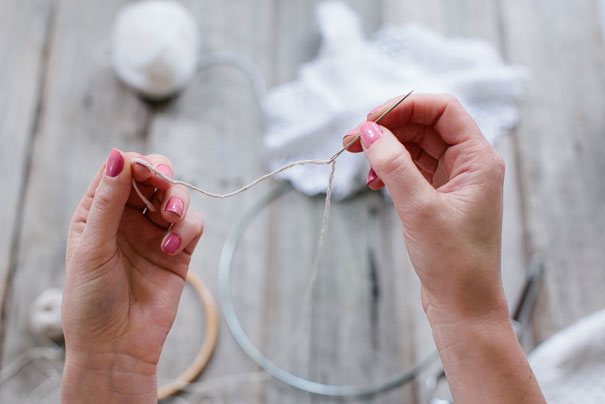
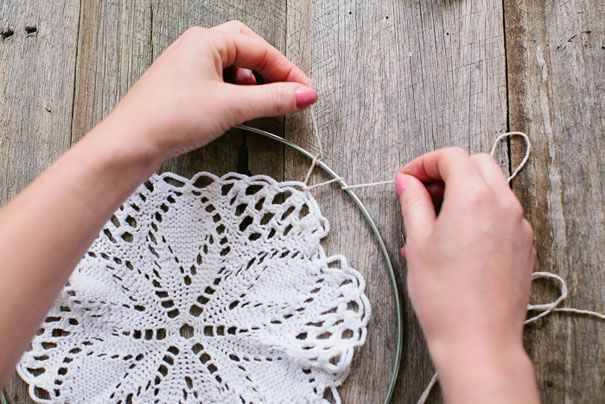
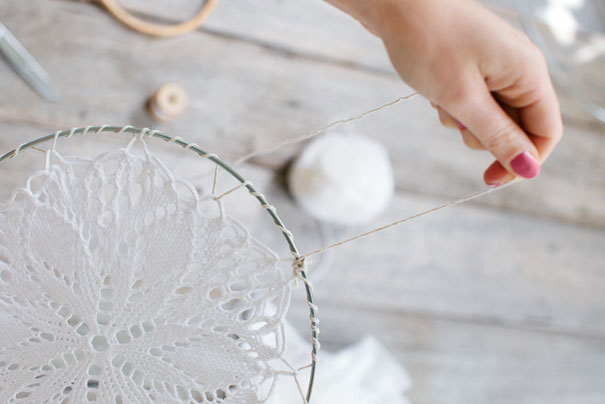
Step 1: Thread your darning needle with twine (string or cotton) and tie one end to the hoop.
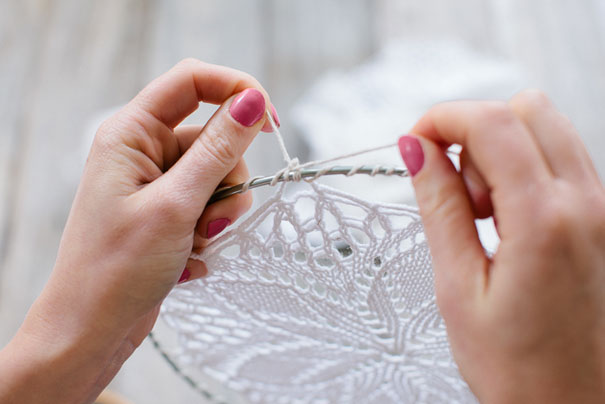
Step 2: Thread the twine through the edge of the doily and then loop back round to the hoop. Loop the needle round the hoop another 4-5 times without going through the doily. Then catch another section of the doily further along.
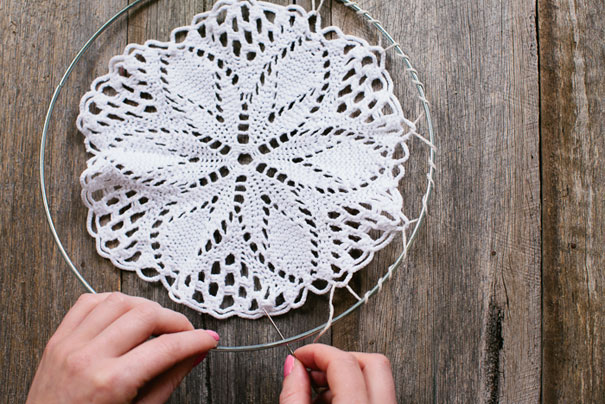
Step 3: Repeat step 2 around the entire edge of the hoop.Once back at the beginning, tie a knot to the hoop to secure the doily in place. Cut any excess twine hanging off.
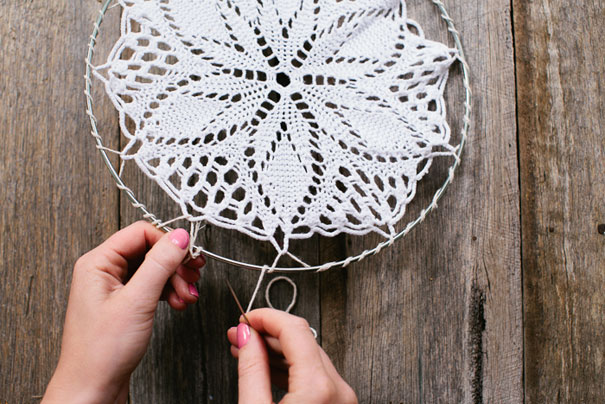
Step 4: Tie an additional length of twine to the top of the hoop.This length of twine will be become your hangar. Make sure you have enough length so it will hang at the length you require, so if it is to hang from a door way keep it quite short, but if it’s to hang from a tree you might want to keep the length quite long.
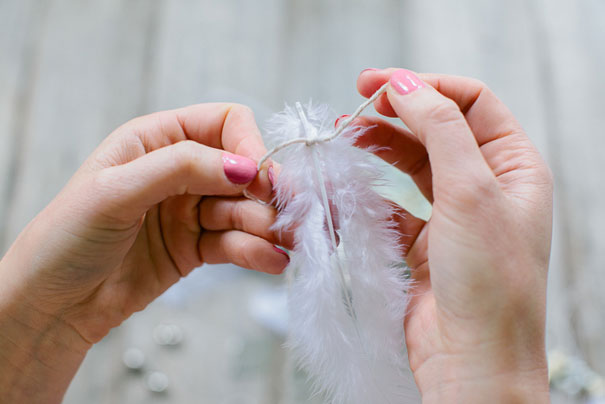
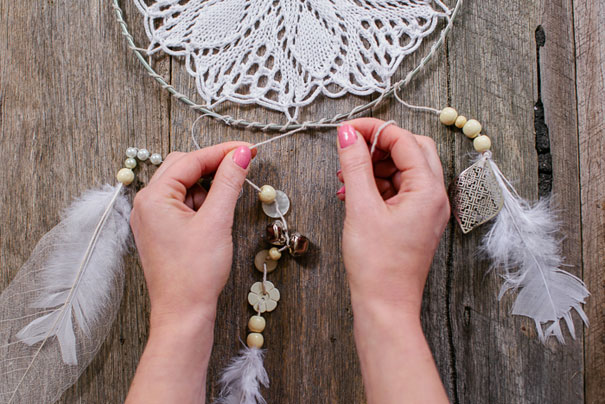
Step 5: Cut additional lengths of twine. These will be used for your hanging decorations. Tie the end of one piece to the base of a feather. Thread needle onto the other end.
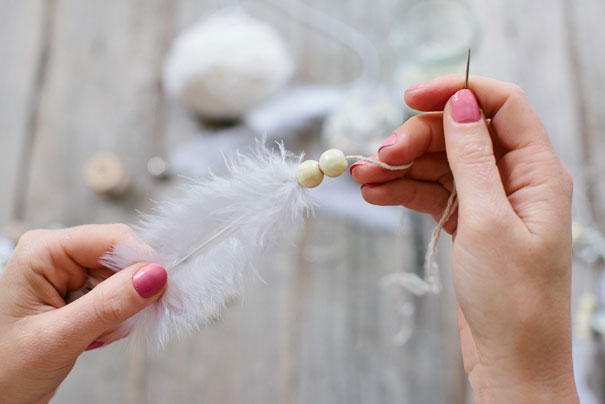
Step 6: Thread the needle through the beads and other decorations till they sit on top of the feather. Keep adding buttons and other bits and pieces until you are happy with the amount of decorations on each string.
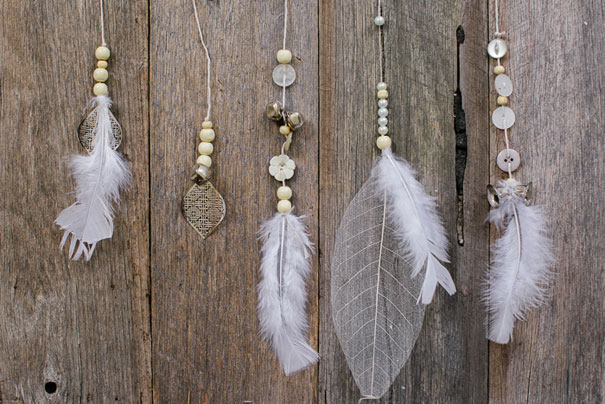
Step 7: Lay out all your strings and place them in the order that you wish to hang them from the hoop, play around with the positioning a bit until you get the balance quite right.
Step 8: Tie the string decoration to the base of the hoop. Start in the middle and work your way around the edge. Add additional lace, strings of pearls and other embellishments to fill the space between your handmade strings and bobs your uncle! Your dream catcher is ready to hang.
Kathy teamed up with some talented vendors and did a shoot with her dream catchers and we look forward to sharing it with you soon. In the mean time you can follow Always Bespoke Events on Facebook here.


CREDITS Photos Brenner Liana // DIY and styling Always Bespoke Events